segunda-feira, 20 de abril de 2020

How To Create Fake Email Address Within Seconds

How To Create Fake Email Address Within Seconds

How To Create Fake Email Address Within Seconds

Email address is a type of identification by which an email receiver identifies the person who sends mail to him/her. That's why while creating an email address you need to enter your personal details that must be valid. However, what if we tell you that you can create an email address that doesn't require any validation of personal details and that email address gets permanently deleted after your work is done. So here we have a method To Create Fake Email Address. By this, you can create a fake email address that will get auto-deleted after ten minutes. Just follow the below steps to proceed.

Note:  The method we are discussing is just for a known purpose and should not be used for any illegal purposes, as we will be not responsible for any wrongdoing.

How To Create Fake Email Address Within Seconds

The method of creating a fake email address is very simple and easy as these are based on online websites that will provide you a free email address without taking any personal details from you.

#1 10 Minute Mail
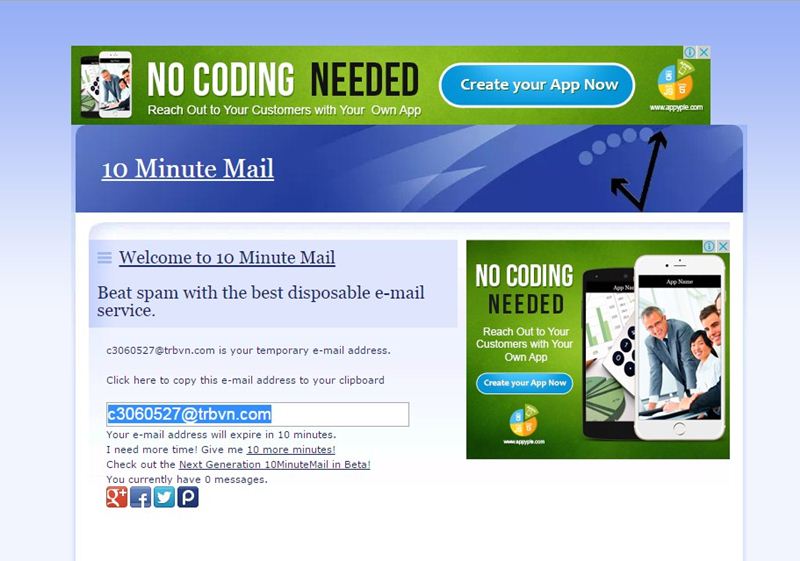
10 Minute Mail
10 Minute Mail
10 Minute Mail will provide you a temporary e-mail address. Any e-mails sent to that address will show automatically on the web page. You can read them, click on links, and even reply to them. The email address will expire after 10 minutes.

#2 GuerrillaMail
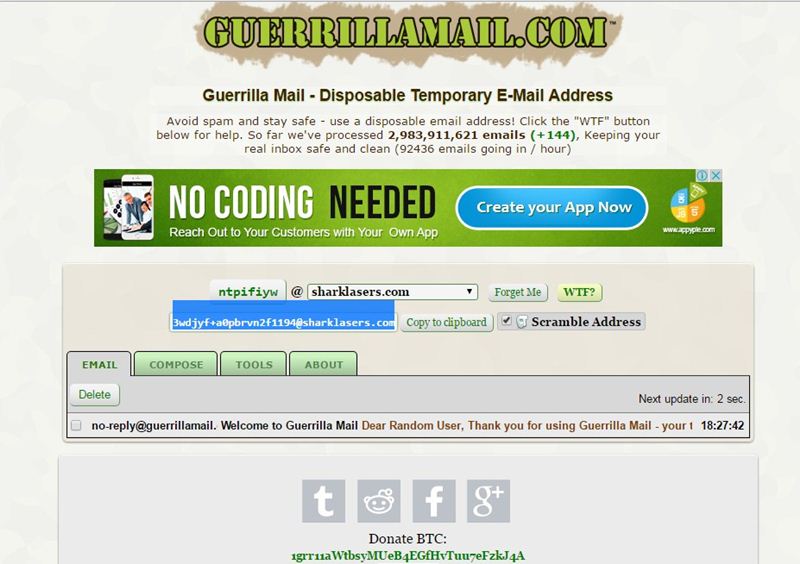
Guerrillamail
Guerrillamail
It is one of the most user-friendly ones out there, with this, you can get disposable email ID easily. You need to enter the details, and the fake email ID will be generated. Moreover, this also lets you send emails with attachment up to 150MB. You will be provided with a temporary email address which you can use to verify some websites which require the email address.

#3 Mailinator
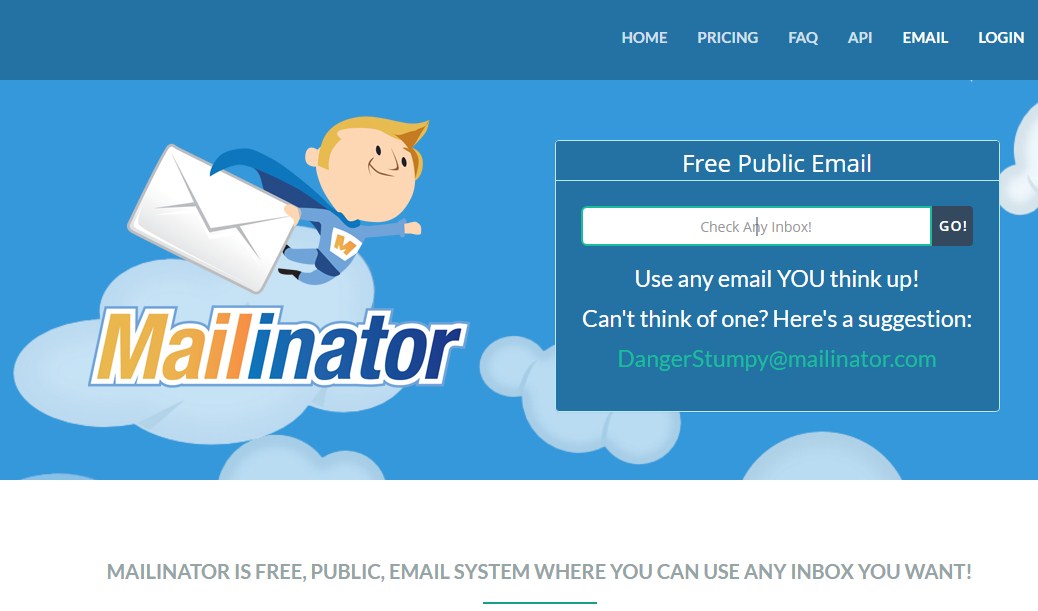
Mailinator
Mailinator
Mailinator is a free, Public, Email System where you can use any inbox you want. You will be given a Mailinator address which you can use anytime a website asks for an email address. The public emails you will receive will be auto-deleted after few hours of receiving.

#4 MailDrop
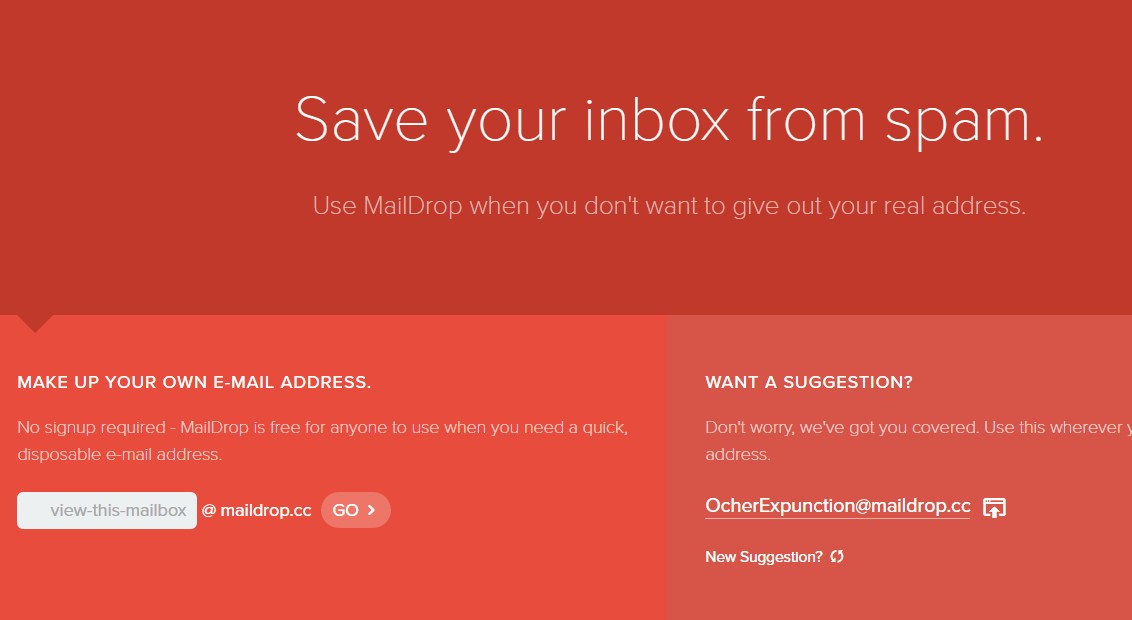
MailDrop
MailDrop
Maildrop is a great idea when you want to sign up for a website but you are concerned that they might share your address with advertisers. MailDrop is powered by some of the spam filters created by Heluna, used in order to block almost all spam attempts before they even get to your MailDrop inbox. This works the same way like Mailinator in which you will be given a temporary Email address which you can use to verify sites etc.

#5 AirMail

AirMail
AirMail
AirMail is a free temporary email service, you are given a random email address you can use when registering to new websites or test-driving untrusted services. All emails received by AirMail servers are displayed automatically in your online browser inbox.

Related articles


CSRF Referer Header Strip

Intro

Most of the web applications I see are kinda binary when it comes to CSRF protection; either they have one implemented using CSRF tokens (and more-or-less covering the different functions of the web application) or there is no protection at all. Usually, it is the latter case. However, from time to time I see application checking the Referer HTTP header.

A couple months ago I had to deal with an application that was checking the Referer as a CSRF prevention mechanism, but when this header was stripped from the request, the CSRF PoC worked. BTW it is common practice to accept empty Referer, mainly to avoid breaking functionality.

The OWASP Cross-Site Request Forgery (CSRF) Prevention Cheat Sheet tells us that this defense approach is a baaad omen, but finding a universal and simple solution on the Internetz to strip the Referer header took somewhat more time than I expected, so I decided that the stuff that I found might be useful for others too.

Solutions for Referer header strip

Most of the techniques I have found were way too complicated for my taste. For example, when I start reading a blog post from Egor Homakov to find a solution to a problem, I know that I am going to:
  1. learn something very cool;
  2. have a serious headache from all the new info at the end.
This blog post from him is a bit lighter and covers some useful theoretical background, so make sure you read that first before you continue reading this post. He shows a few nice tricks to strip the Referer, but I was wondering; maybe there is an easier way?

Rich Lundeen (aka WebstersProdigy) made an excellent blog post on stripping the Referer header (again, make sure you read that one first before you continue). The HTTPS to HTTP trick is probably the most well-known one, general and easy enough, but it quickly fails the moment you have an application that only runs over HTTPS (this was my case).

The data method is not browser independent but the about:blank trick works well for some simple requests. Unfortunately, in my case the request I had to attack with CSRF was too complex and I wanted to use XMLHttpRequest. He mentions that in theory, there is anonymous flag for CORS, but he could not get it work. I also tried it, but... it did not work for me either.

Krzysztof Kotowicz also wrote a blog post on Referer strip, coming to similar conclusions as Rich Lundeen, mostly using the data method.

Finally, I bumped into Johannes Ullrich's ISC diary on Referer header and that led to me W3C's Referrer Policy. So just to make a dumb little PoC and show that relying on Referer is a not a good idea, you can simply use the "referrer" meta tag (yes, that is two "r"-s there).

The PoC would look something like this:
<html>
<meta name="referrer" content="never">
<body>
<form action="https://vistimsite.com/function" method="POST">
<input type="hidden" name="param1" value="1" />
<input type="hidden" name="param2" value="2" />
...
</form>
<script>
document.forms[0].submit();
</script>
</body>
</html>

Conclusion

As you can see, there is quite a lot of ways to strip the Referer HTTP header from the request, so it really should not be considered a good defense against CSRF. My preferred way to make is PoC is with the meta tag, but hey, if you got any better solution for this, use the comment field down there and let me know! :)

More information
  1. Pentest Tools Port Scanner
  2. Hacker Tools For Ios
  3. Wifi Hacker Tools For Windows
  4. Hacking Tools 2019
  5. Hacks And Tools
  6. Termux Hacking Tools 2019
  7. Usb Pentest Tools
  8. Kik Hack Tools
  9. Hacking Tools Online
  10. Hacks And Tools
  11. Hack Tools Download
  12. Hack Tool Apk
  13. Hacking Tools Usb
  14. Pentest Tools Port Scanner
  15. Pentest Tools For Ubuntu
  16. Pentest Tools Review

How To Automatically Translate Any Android App Into Any Language

There is the number of applications which are not having the features of translating apps to your favorite languages. This makes it difficult for the users to translate apps into their native language. Today, I am going to tell you about an application which will help you to Automatically Translate Any Android App into Any Language.
Nowadays there are around hundreds of application on play store which is having the feature of translate but some applications don't have this features. This is just because they don't have proper developers or sometimes translators.
There is an application launched by Akhil Kedia from XDA Developer which made it possible for all the users to translate the application to any language you need. This is something which everyone needs it.
Akhil Kedia built an Xposed module in which users can easily change the language of any application to whichever they like or love. Personally, we all love English language but there are peoples in many parts of the world they are suitable for other languages.
Automatically Translate Any Android App into Any Language

Automatically Translate Any Android App into Any Language

The best part about this Xposed Module is that it translates the application to any language whichever you like and there are around many languages which you can try it. The other best part about this application is that the user interface which is amazing.
In an Android application, the best thing is the user interface. This is something which helps users to download the module or application to run again and again. There are about many settings which can be changed from the application.
The setup process is a bit different from other applications but if you will look at the application you will definitely love it. Just because of too many settings and features available in the application and you can turn it to any language without any crashing issues of the application.

Requirements:

  • Rooted Android Phone
  • Xposed Framework installed on your phone.
  • Android 5.0 or higher.
  • Unknown Source enabled (You might be knowing it)
How to Automatically Translate Any Android App into Any Language
  • Download the module called as All Trans from here: Download
Automatically Translate Any Android App
  • Now, after installation, it will ask you to reboot your phone to activate the module
  • Now, you need to get the API Key to get it you need to sign up with Yandex first so sign up: Yandex Sign up
Automatically Translate Any Android App
  • Then after sign up you will get the API key just enter the API key in the All-Trans application.
Automatically Translate Any Android App
  • Open All Trans Application and the swipe right to Global Settings.
Automatically Translate Any Android App
  • Click on Enter Yandex Subscription key and then enter your key.
Automatically Translate Any Android App
  • In Global Settings click on Translate from and select the Language the application is already in. (Eg: English)
Automatically Translate Any Android App
  • Now, click on translate to and select your favorite language. This will change the language.
Automatically Translate Any Android App
  • Swipe left and select the applications which you need to translate and done.
Automatically Translate Any Android App
  • After selecting just open the application and the language is translated automatically.
Automatically Translate Any Android App

Final Words:

This is the best and easy way to Automatically Translate Any Android App into Any Language. I hope you love this article.Share this article with your friends and keep visiting for more tips and tricks like this and I will meet you in the next one.
Stay Updated Tune IemHacker

More info
  1. Hacker Security Tools
  2. Hacking Tools For Windows 7
  3. Pentest Tools Review
  4. Hacker Tools Software
  5. Hacking Tools Online
  6. Hacker Tool Kit
  7. Pentest Tools Find Subdomains
  8. Hacking Tools Hardware
  9. Pentest Box Tools Download
  10. Hacker Tools
  11. Best Hacking Tools 2020
  12. Hacker
  13. Hack App
  14. Best Hacking Tools 2019
  15. Pentest Tools Subdomain
  16. Game Hacking
  17. Pentest Tools For Mac
  18. Hacker Tools List
  19. Ethical Hacker Tools
  20. How To Make Hacking Tools
  21. Tools 4 Hack
  22. Tools Used For Hacking
  23. Pentest Reporting Tools
  24. Pentest Tools Framework
  25. Hack Tools
  26. Hacker Tools 2020
  27. Hack Tool Apk No Root
  28. Hacker Tools Linux
  29. Hacking Tools For Windows Free Download

HACKING GMAIL FOR FREE CUSTOM DOMAIN EMAIL

hacking-gmail-for-free-custom-domain-email


HACKING GMAIL FOR FREE CUSTOM DOMAIN EMAIL

When it comes to email providers, there's no competitor to Google's awesome features. It is efficient which connects seamlessly with the rest of your Google products such as YouTube, Drive, has a major application called Gmail Inbox, and is overall an extremely powerful email service. However, to use it with a custom domain, you need to purchase Google Apps for either $5 or $10/month, which for casual users is a bit unnecessary. On top of that, you don't even get all of the features a personal account gets, e.g. Inbox. So, here's a free way to use your Gmail account with a custom domain. I am just going to show you hacking Gmail for free custom domain email.

SO, HOW HACKING GMAIL FOR FREE CUSTOM DOMAIN EMAIL

PASSWORD: EHT

STEPS:

  • First, register with Mailgun using your Gmail address. Use your Gmail only. Once you have clicked the confirm link, log in to the Mailgun website. Now you're in the dashboard, move on the right under "Custom Domains", click "Add Domain".
  • Follow the setup instructions and set DNS records with whoever manages your DNS. Once you've done this, click on the "Routes" link on the top to set up email forwarding.
  • Now move to the Route tab and click on Create New Route.
  • As you click the button, you will see a page like below. Just enter the information as entered in the following screenshot.
  • Just replace the quoted email with your desired email in the above-given screenshot.
  • Next, we'll setup SMTP configuration so we would be able to send emails from an actual server. Go to "Domains" tab, click on your domain name.
  • On this page, click "Manage your SMTP credentials" then "New SMTP Credential" on the next page.
  • Type in the desired SMTP credentials. And, go to Gmail settings and click "Add another email address you own". Once you open, enter the email address you wish to send from.
  • In the next step, set the SMTP settings as follows.
  • After clicking "Add Account" button, now you're done.
  • The final step, make sure to set it to default email in the Gmail settings > Accounts.
That's all. Now you got free Gmail custom domain with 10,000 emails per month. Hope it will work for you. If you find any issue, just comment below.


Note: Use Virtual Machine and scan on VirusTotal before downloading any program on Host Machine for your privacy.

Related word


Top Users Command In Linux Operating System With Descriptive Definitions


Linux is a command line interface and has a graphical interface as well. But the only thing we should know how we interact with Linux tools and applications with the help of command line. This is the basic thing of Linux.  As you can do things manually by simple clicking over the programs just like windows to open an applications. But if you don't have any idea about commands of Linux and definitely you also don't know about the Linux terminal. You cannot explore Linux deeply. Because terminal is the brain of the Linux and you can do everything by using Linux terminal in any Linux distribution. So, if you wanna work over the Linux distro then you should know about the commands as well.
In this blog you will get a content about commands of Linux which are collectively related to the system users. That means if you wanna know any kind of information about the users of the system like username passwords and many more.

id

The "id" command is used in Linux operating system for the sake of getting knowledge about active user id with login and group. There may be different users and you wanna get a particular id of the user who is active at that time so for this you just have to type this command over the terminal.

last

The "last" command is used in Linux operating system to show the information about the last logins on the system. If you forget by which user id you have logged in at last time. So for this information you can search login detail by using this command.

who

The "who" command is used in Linux distributions to display the information about the current user which a an active profile over the Linux operating system. If you are in the system and you don't know about that active user and suddenly you have to know about that user detail so you can get the info by using this command.

groupadd

The "groupadd admin" is the command which is used in Linux operating system to add a group in the Linux system to gave the privileges to that group.

useradd

The "useradd" command is used in Linux operating system to add user or users to a specific group. If you wanna add a user name Umer so for this matter you just have to write a command i.e. useradd -c "Umer".

userdel

The "userdel" command is used in Linux operating system for the purpose to delete any user or users from the particular group present in the linux operating system. For example "userdel Umer" this command will delete the user named Umer.

adduser

The "adduser" command is a simple command used to create directly any user in the system. There is no need to make a group for this. You just have to type the command with user name like adduser Umer, it will created a user by name Umer.

usermod

The "usermod" is a command used in Linux operating system to modify the information of any particular user. You can edit or delete information of any particular user in the Linux operating system.


Related articles


  1. Hacking Tools For Kali Linux
  2. Pentest Tools For Mac
  3. Hackrf Tools
  4. Hacker Tools Linux
  5. Hack Tools For Games
  6. Hacking Apps
  7. Hacker Tools Linux
  8. Install Pentest Tools Ubuntu
  9. Hacker
  10. Wifi Hacker Tools For Windows
  11. Hacker Hardware Tools
  12. Best Hacking Tools 2019
  13. Hack And Tools
  14. Hacker Tools Apk Download
  15. Hacking Tools Online
  16. Hack Tools For Pc

RS256-2-HS256 - JWT Attack To Change The Algorithm RS256 To HS256


JWT Attack to change the algorithm RS256 to HS256

Usage
usage: RS256_2_HS256_JWT.py [-h] payload pubkey

positional arguments:
payload JSON payload from JWT to attack
pubkey Public key file to use for signing

optional arguments:
-h, --help show this help message and exit

Example


via KitPloit
More information